PC Water Cooling Kit Water Drain SC600 Water Pump Fan Integrated DIY Compute REL
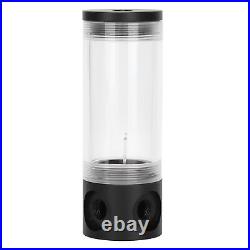
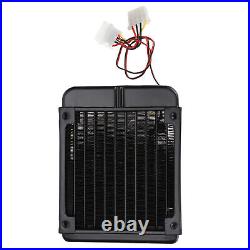
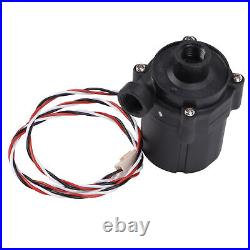
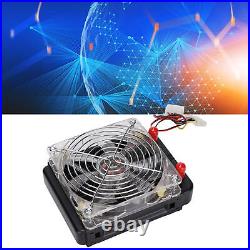
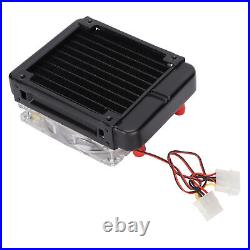
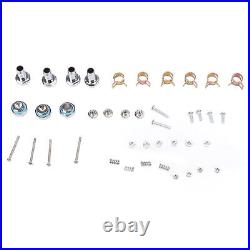
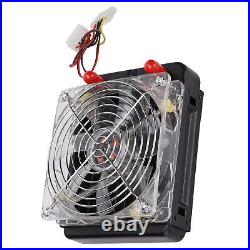
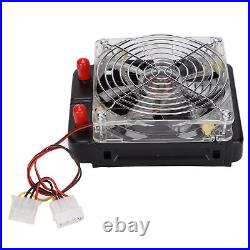
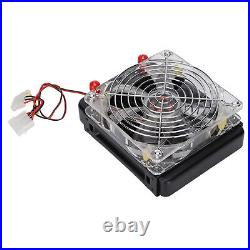
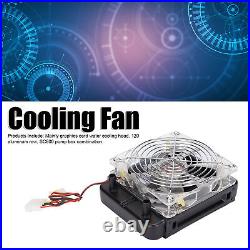
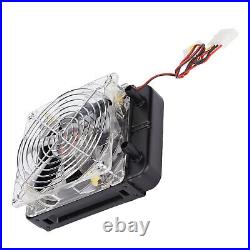
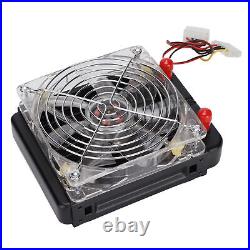
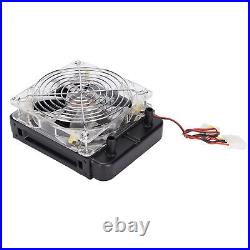
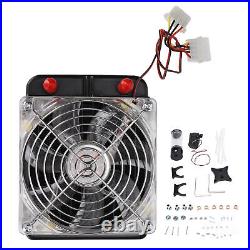

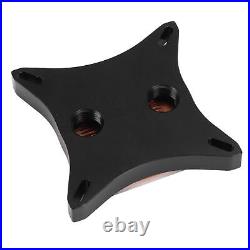
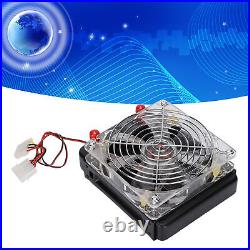
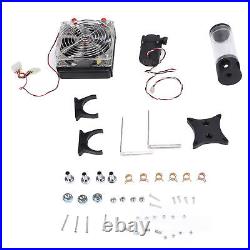
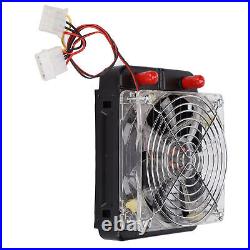
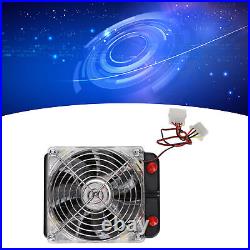

DIY: This is a set of suits suitable for desktop computer heat dissipation, suitable for DIY players, assembling suitable heat dissipation equipment, allowing you to fully experience the fun of DIY. Products Include: Mainly graphics card water cooling head, 120 aluminum row, SC600 pump box combination. GPU Water Block: Adopts copper based structure to provide excellent heat transfer and cooling performance. S600 Water Pump: Waterproof, stable, high noise, and long life. LED fan: high static air pressure and low noise.
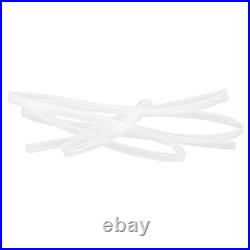
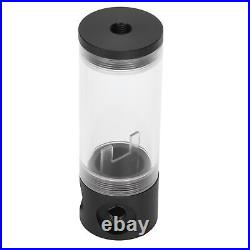
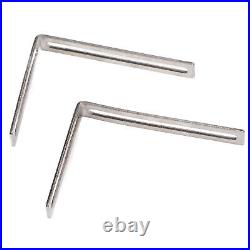
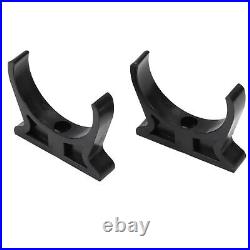
Radiator: Equipped with 120mm heat dissipation water drain, providing excellent heat dissipation, because you need a highly overclocked desktop processor. Item Type: PC Water Cooling Kit Material: ABS, Brass, Aluminum Alloy, Acrylic Main Accessories: 1. 10 Pipes with Fan Integrated Water Drain Assembly Interface: Straight Mouth Fan Size: 12cm x 12cm / 4.7 x 4.7in Fan Interface: Big 4PIN Water Drain Specification: 120mm / 4.7in Water Drain Size: 152 x 60 x 120mm / 6 x 2.4 x 4.7in 2. GPU Water Block Components Contact Copper Size: 50 x 50mm / 2 x 2in Material: Brass, Aluminum Alloy With a Pack of Mounting Screws 3. SC600 Water Pump Components, a Pack of Pagoda Screws Voltage: 12V DC, 3-pin Plug on the Motherboard Power: 10W Head: 3 Meters Flow Rate: 500 Liters/Hour 4. 140mm Cylindrical Water Tank Components Water Tank Diameter: 50mm / 2in Water Tank Height: 140mm / 5.5in Water Tank Material: Acrylic, ABS With a Pair of Black Water Tank Brackets, a Pair of Silver Brackets, a Pack of Mounting Screws 5. Hose (Transparent) Assembly Hose Length: About 2 Meters Hose Size: 8mm / 0.3in(Inner Diameter), 10mm / 0.4in(Outer Diameter) Hose Material: TPE A Pack of Accessory Copper Mounting Screws 6. Water Cooled Liquid Filling Device.Remove the CPU cooler 2. Remove the CPU base and north bridge 3. The effect picture of removing the CPU base and the north bridge 4.
Prepare 4 screws to fix the CPU, and put on spacers for each 5. Put the prepared screws into the four holes of the CPU 6. Turn the motherboard to the front, put a washer on each screw Screw nuts on 7.4 screws 8. Use a screwdriver to tighten the 4 screws 9. Apply silicone grease evenly on the CPU 10.
Align the CPU water block with the hole and place it 11.4 springs are placed on the fixing screws Tighten the nut with 12.4 screws. The progress of tightening the 4 nuts must be the same, otherwise it will cause imbalance and poor heat conduction. Install 2 pagoda connectors 14.
Prepare the two screws of the north bridge, and put washers on the screws 15. The north bridge screw penetrates the hole of the motherboard 16. Turn the motherboard over and put 2 screws on the front side with spacers 17. Apply thermal grease evenly on the North Bridge/South Bridge chip 18.
Screw the nut on the screw, go to the back and use a screwdriver to tighten 19. Put the corresponding screws into the North Bridge/South Bridge 20. Put a spring on the screw 21. Screw on the nut, the progress of the two screws is the same, then install the pagoda connector, and tighten 22.The graphics card is removed from the motherboard 23. Remove the previous heat dissipation effect diagram 24.
The graphics card head is the same as the previous steps 25. Show that the water block is installed 26.
Install the graphics card back to the computer motherboard and fix the effect picture 27. Fix the cooling fan to the cooling water drain (note: the fan is sent to the radiator) 28. The effect diagram of fixing the heat sink on the chassis 29. The display diagram of the follow-up connection of the pump and the water tank. The follow-up method can be changed in the actual situation, and you can install it at will. Fix the water tank rack in the proper position of the chassis, and then snap the water tank into the buckle 31. Fix all fittings, measure the length of the pipe at each position of the pipeline, and then cut the pipe 32. Put the tube skull on both ends of the tube 33. Connect the weft waterway like this, and then put the pipe skeleton on the joint with pliers 35.Then check whether each waterway is installed properly to avoid water leakage 36. Add water and coolant, fill the water tank for the first time, and then turn it on, it will become less during the cycle, fill it up again, make sure the air inside is drained, and then plug the plug 37. Connect the power supply of the water pump to the position of the previous CPU fan, and the big 4pin interface of the fan can be found on the power supply to insert it. 1 x 120 Pagoda Water Drain (with 1pcs 12cm Fan).
1 x GPU Water Block. 1 x 140mm Cylindrical Water Tank. 2 x Black Water Tank Bracket. Manually measure the size, there may be errors.
We will reply your message within 48 hours. If you do not receive our reply within 48 hours, pls.
Post a message again because sometimes our message system may block some emails. If you are satisfied with our service, pls. Our aim is to provide Level Customer Service, your recognition will encourage us greatly and serve you better.
We strive to keep all our customers satisfy. We will do our up most to exceed your expectations in customer service, communication and dispatching of your orders.
